
Install and first translation
This page takes you from an empty Mac to a finished translation. It should take about two minutes.
Install from the Mac App Store
TransOne is available only on the Mac App Store.


- Install it. You get a 7-day free trial. Unlocking it afterwards is a one-time purchase, with no subscription.
- Open TransOne.
The first time it opens, a welcome window appears and points at the menu bar. Click Get Started. You will not see this window again.
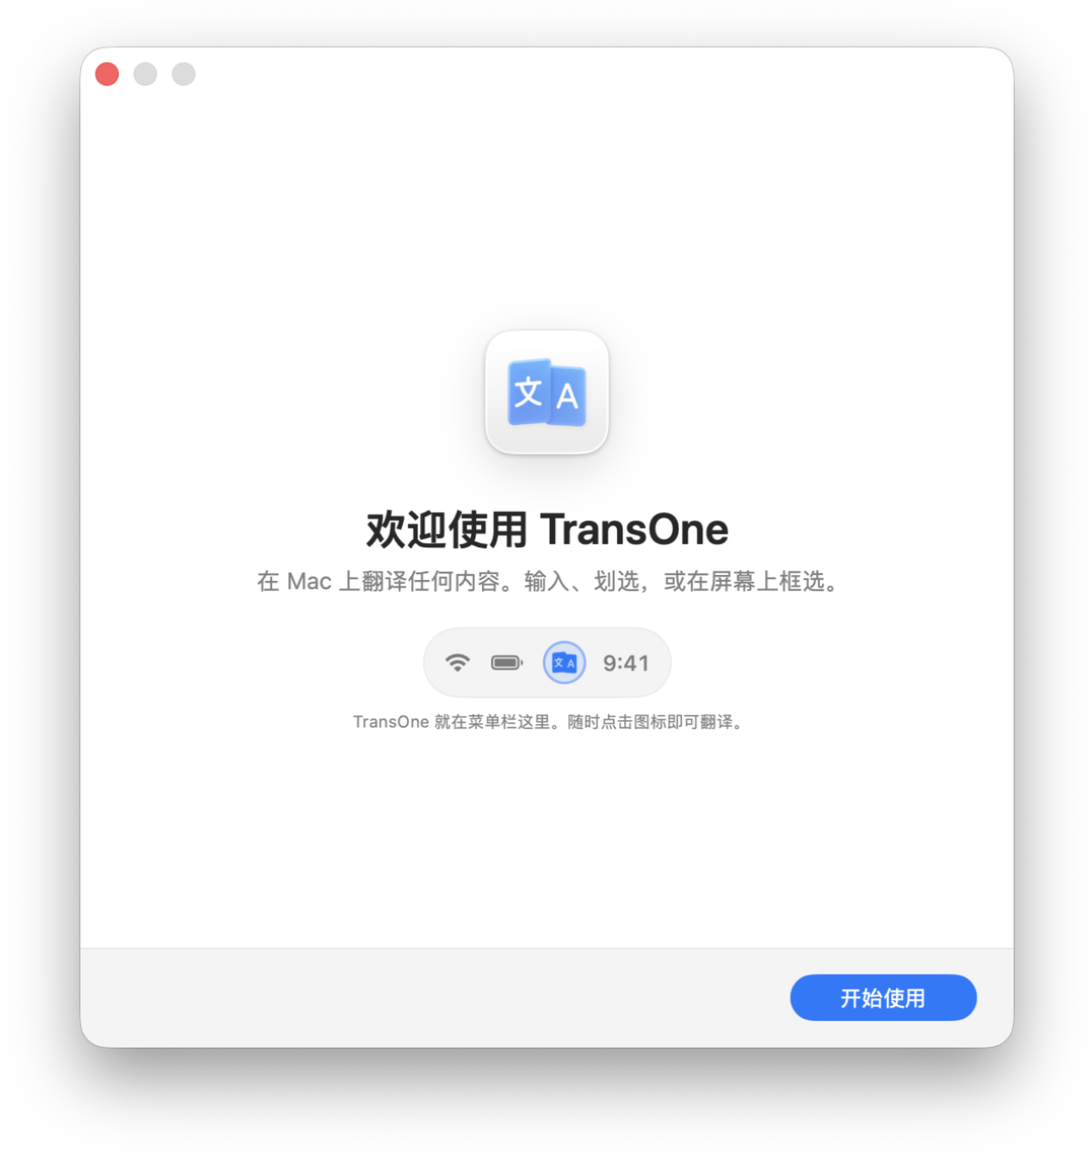
Find it in the menu bar
TransOne has no main window and no Dock icon. This is normal, and it is the point of the app.
Look along the top right edge of your screen, in the row of small icons next to the clock. The TransOne icon is there. Click it to open its menu.
Cannot see the icon?
If your menu bar is crowded, macOS may have hidden it. Hold ⌘ and drag icons along the menu bar to rearrange them. On a Mac with a notch, quitting an app or two frees up room.
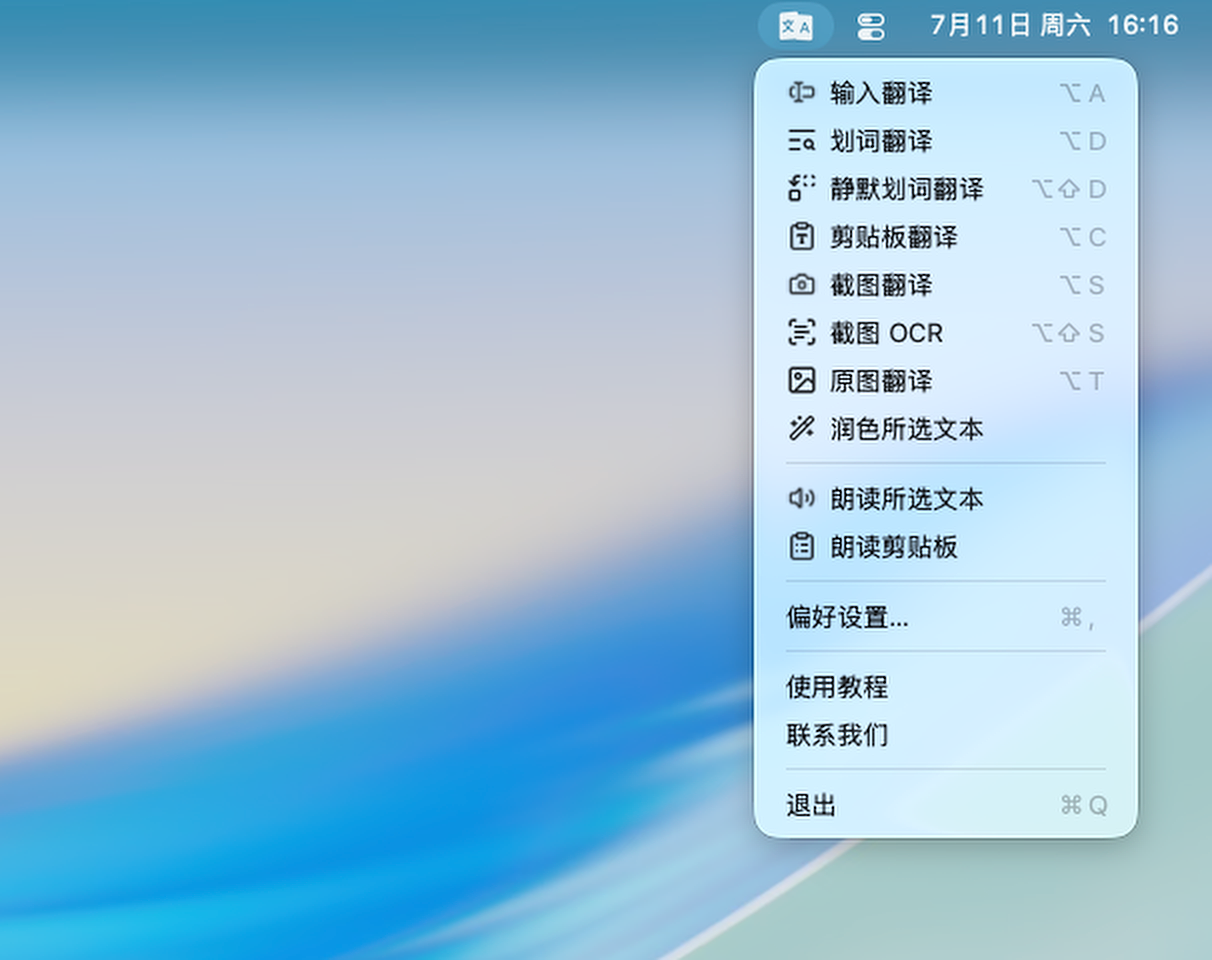
Your first translation
- Press ⌥A (hold Option, then press A). You can also click the menu bar icon and choose Input Translation.
- The translation window opens over whatever you were doing, with the cursor already in the input box.
- Type or paste some text.
- Press Return.
TransOne works out which language you typed, translates it into your language, and shows the result underneath. Press Esc to close the window.
No Translate button
Return translates. ⇧Return adds a line break instead. There is no button to hunt for.
Set your languages
TransOne needs to know which language is yours before it can pick a direction.
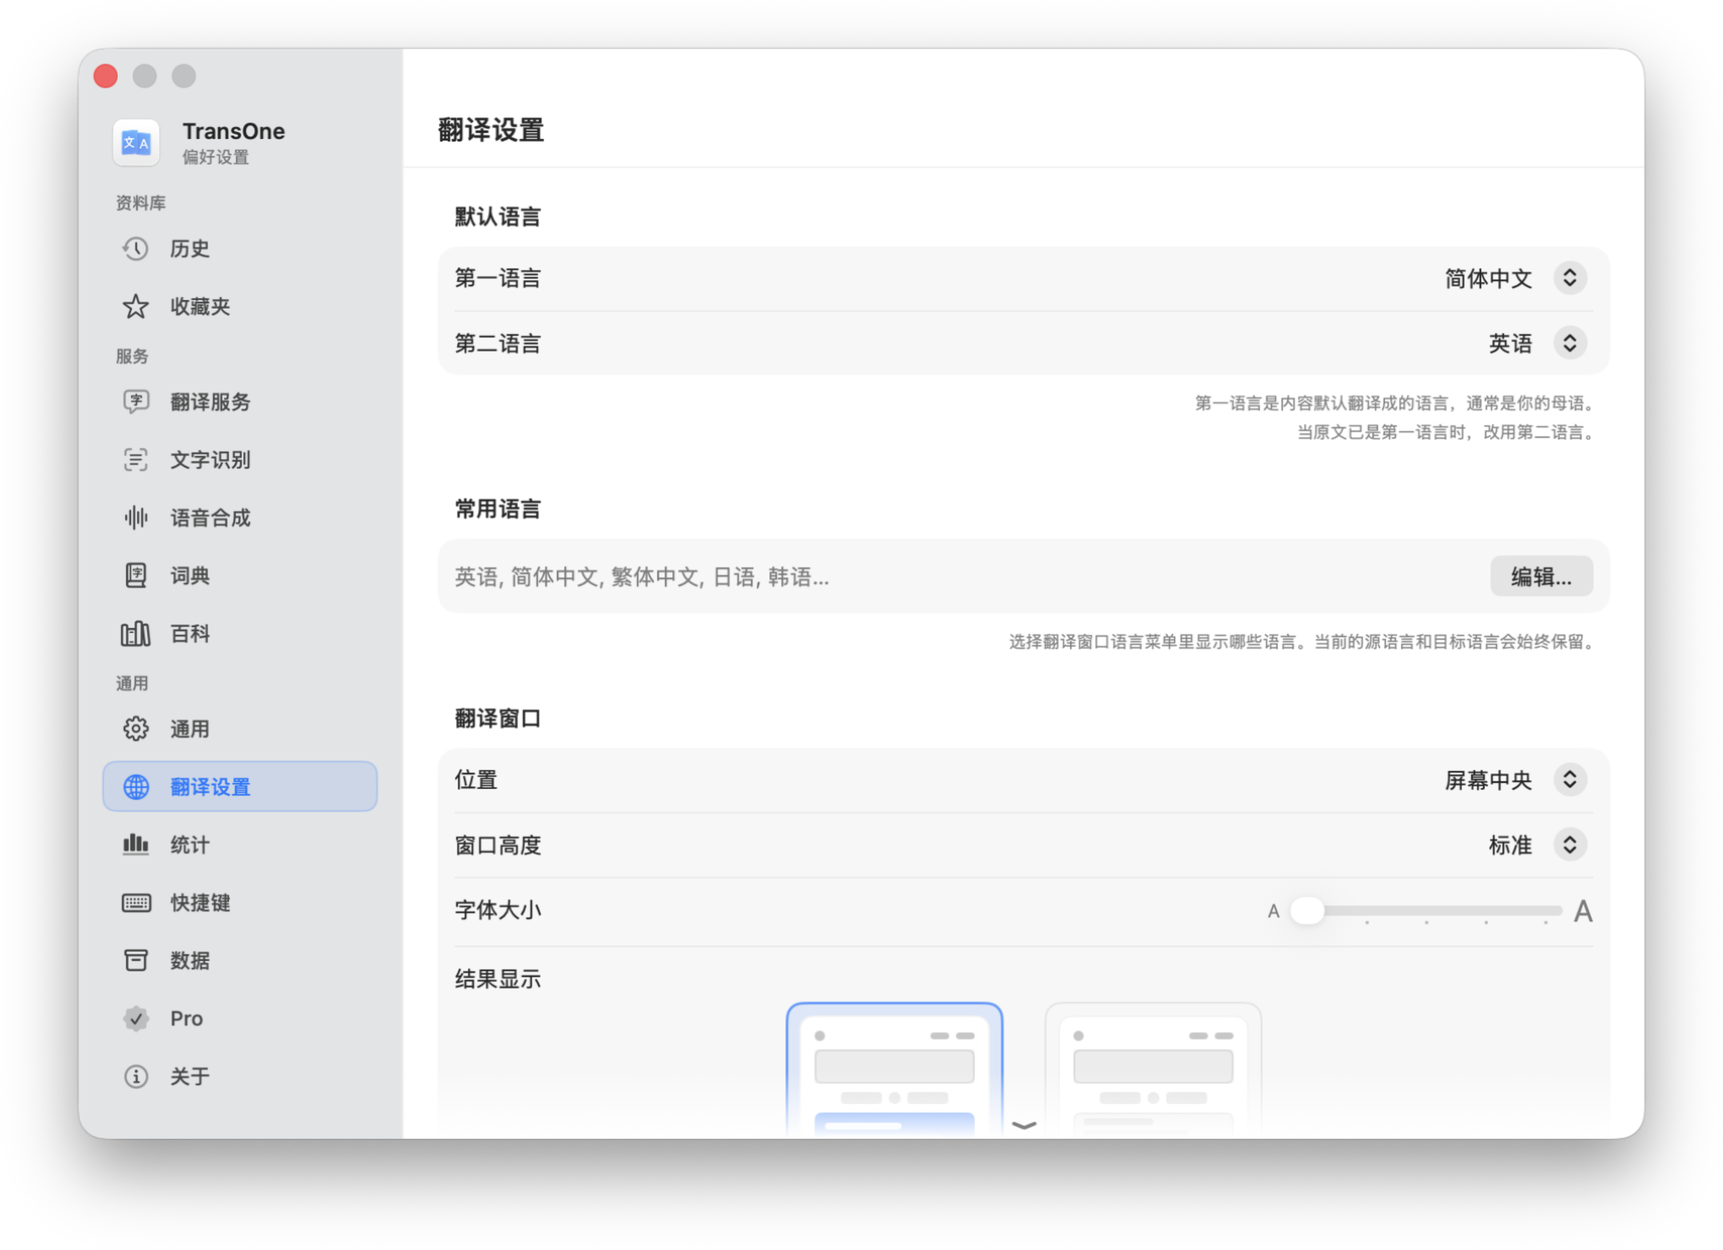
- Click the menu bar icon and choose Preferences… (or press ⌘,).
- Go to Translation Settings.
- Set First Language to the language you read most comfortably. Anything you translate lands in this language by default.
- Set Second Language. TransOne uses it when the text you gave it is already in your first language, so translating your own writing does the sensible thing.
There is no setting for the source language. TransOne always detects it, and you can override the detection for a single translation from the language bar in the translation window.
Choose an engine
An engine is the service that does the actual translating. TransOne ships with 27 of them and lets you run several at once.
Out of the box you can translate without setting anything up:
- On macOS 15 or later, System (On-Device) uses Apple's translator. It runs on your Mac, works offline and costs nothing. macOS downloads each language pair the first time you need it.
- On any version, Google Translate (Free) needs no key, though it can be rate limited.
To use DeepL, an AI model, or anything else, open Preferences ▸ Translation Services, add the engine, and paste in your own API key. An API key is a long password that a translation service gives you so it knows the requests are yours. Keys are stored in the macOS Keychain and only ever sent to the service they belong to.
Translation engines covers all 27, what each one needs, and where to get it.
Learn the four shortcuts that matter
You do not need all ten. These four cover almost everything:
| Shortcut | What it does |
|---|---|
| ⌥A | Open the translation window and type. |
| ⌥D | Translate the text you have selected in any app. |
| ⌥C | Translate whatever you last copied. |
| ⌥S | Draw a box on screen and translate the text inside it. |
The first time you use ⌥D or ⌥S, macOS asks for a permission. TransOne walks you through it. See Permissions for what each one is for and why nothing is asked for at launch.
Next
- The menu bar and the translation window, a tour of every control.
- Ways to translate, all the entry points in detail.
- Keyboard shortcuts, to change any of them.